
Congratulations on your
new Healing Sauna!
Let's guide you through the setup process to ensure you can start enjoying its benefits promptly.
Step 1
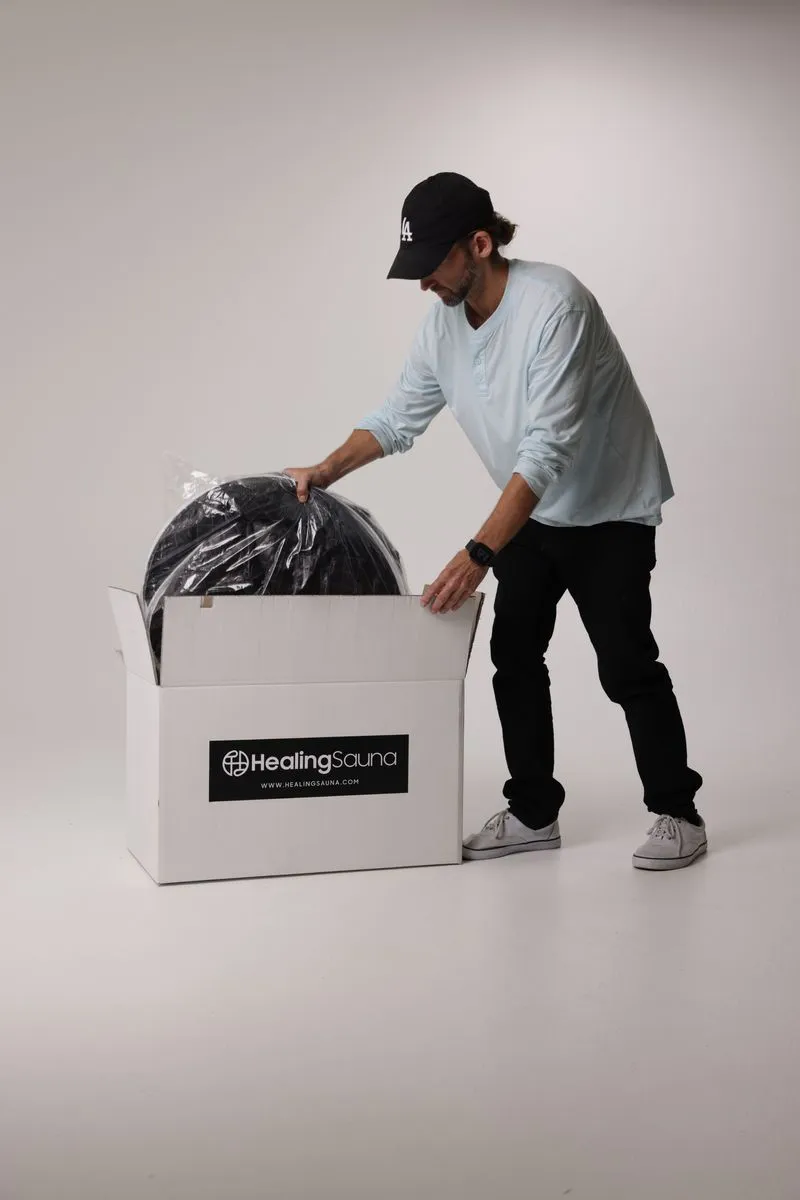
Unpacking Your Healing Sauna
Locate a Suitable Space: Choose a 4x4-foot area with access to a power outlet. Ideal locations include bedrooms, fitness rooms, garages, or offices.
Step 2
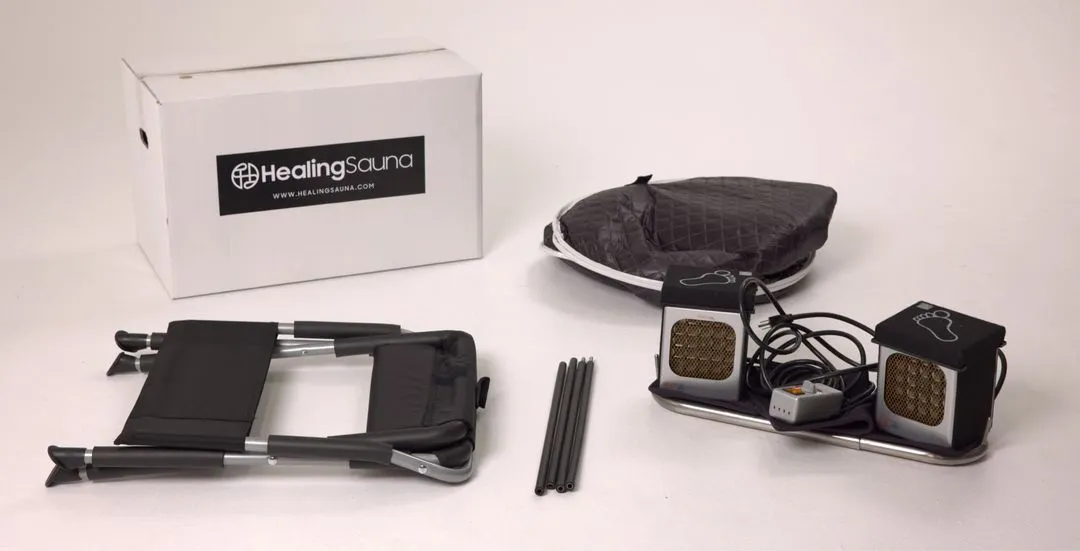
Remove all the Components
Unbox the Components: Inside the shipping box, you'll find:
- 1 Sauna Tent
- 1 Foldable Chair
- 1 Far Infrared Radiator
- 2 Poles
- 1 Controller & Mount
- 1 Travel Case
Step 3
Assembling the Sauna Tent
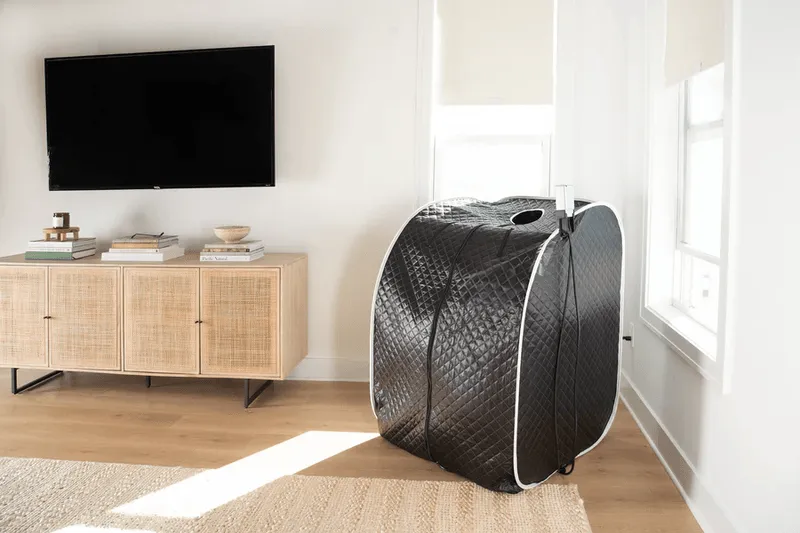
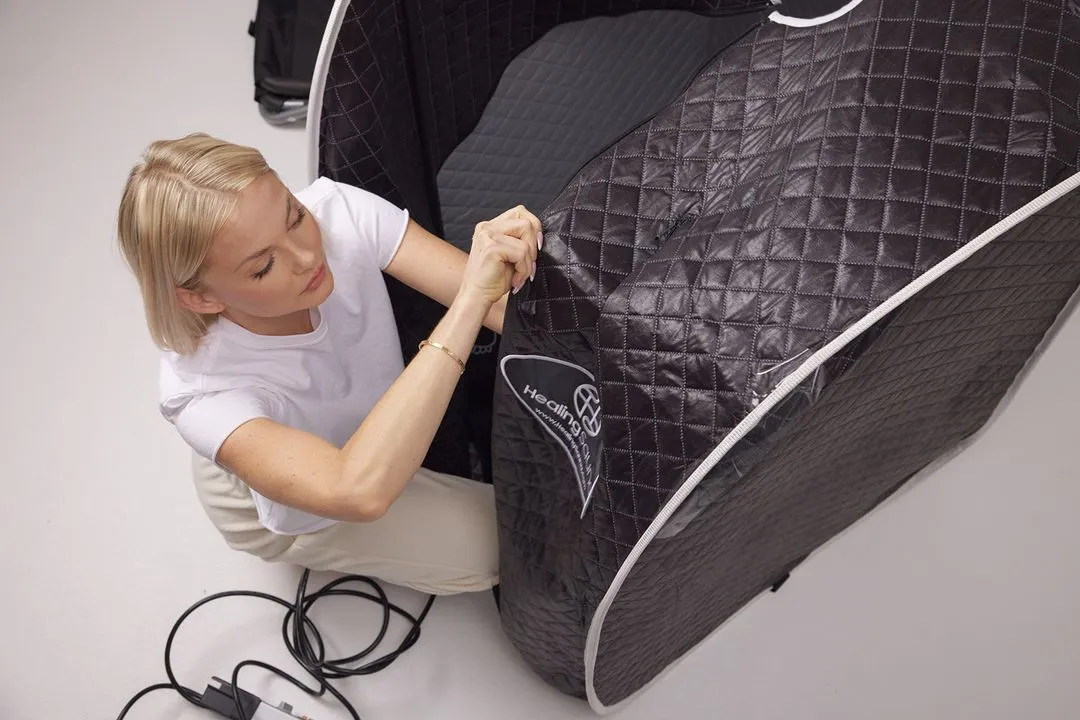
Set Up the Tent: Unfold the sauna tent and position it upright in your chosen space.
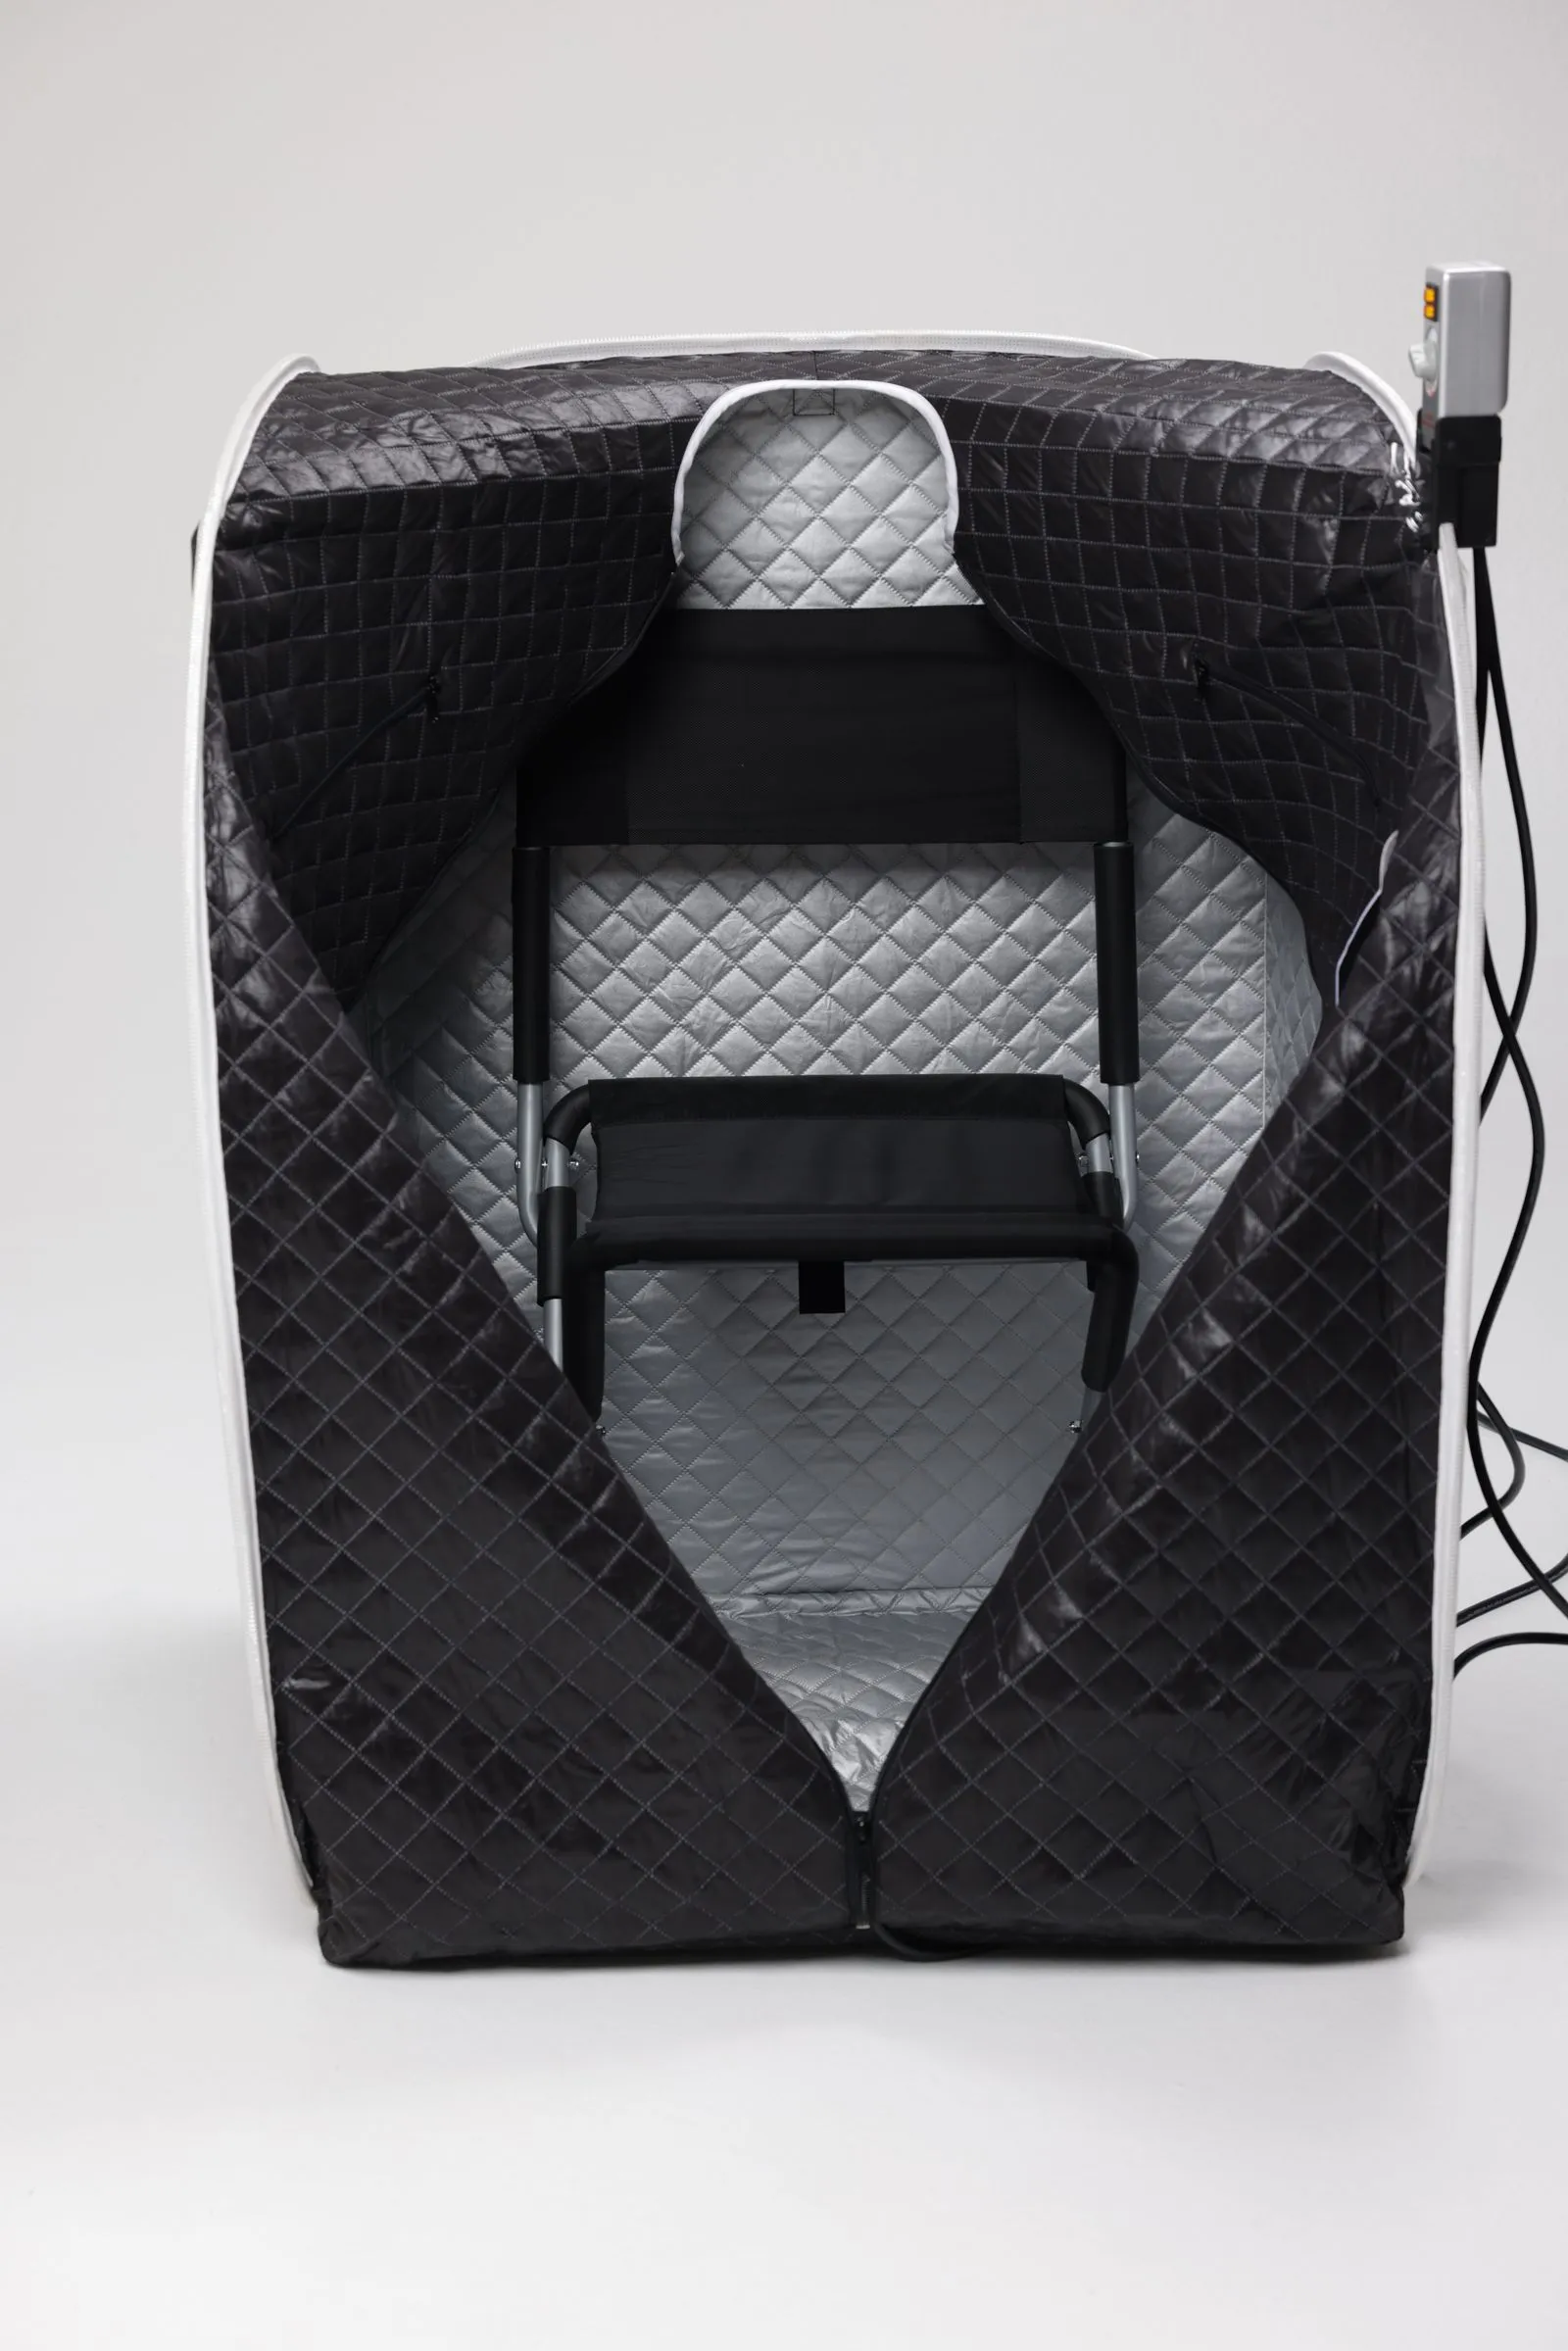
Place the Chair: Open the foldable chair and position it inside the tent.
Place the Chair: Open the foldable chair and position it inside the tent.
Step 4
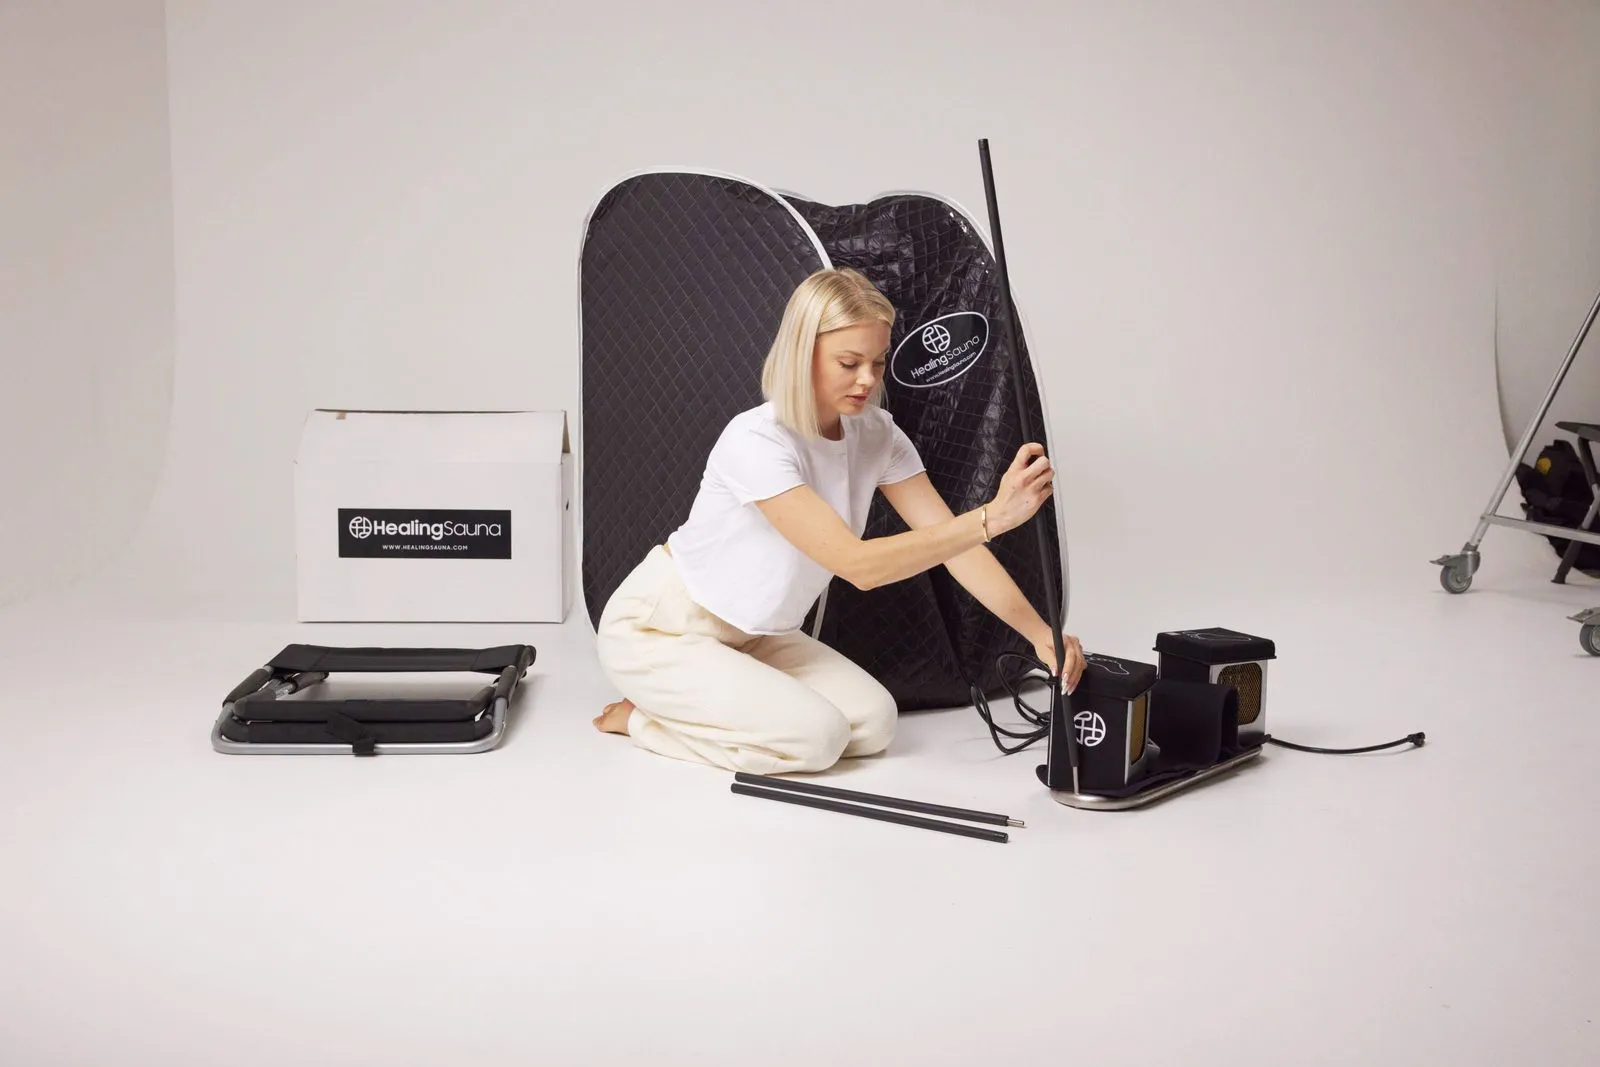
Installing the Support Poles
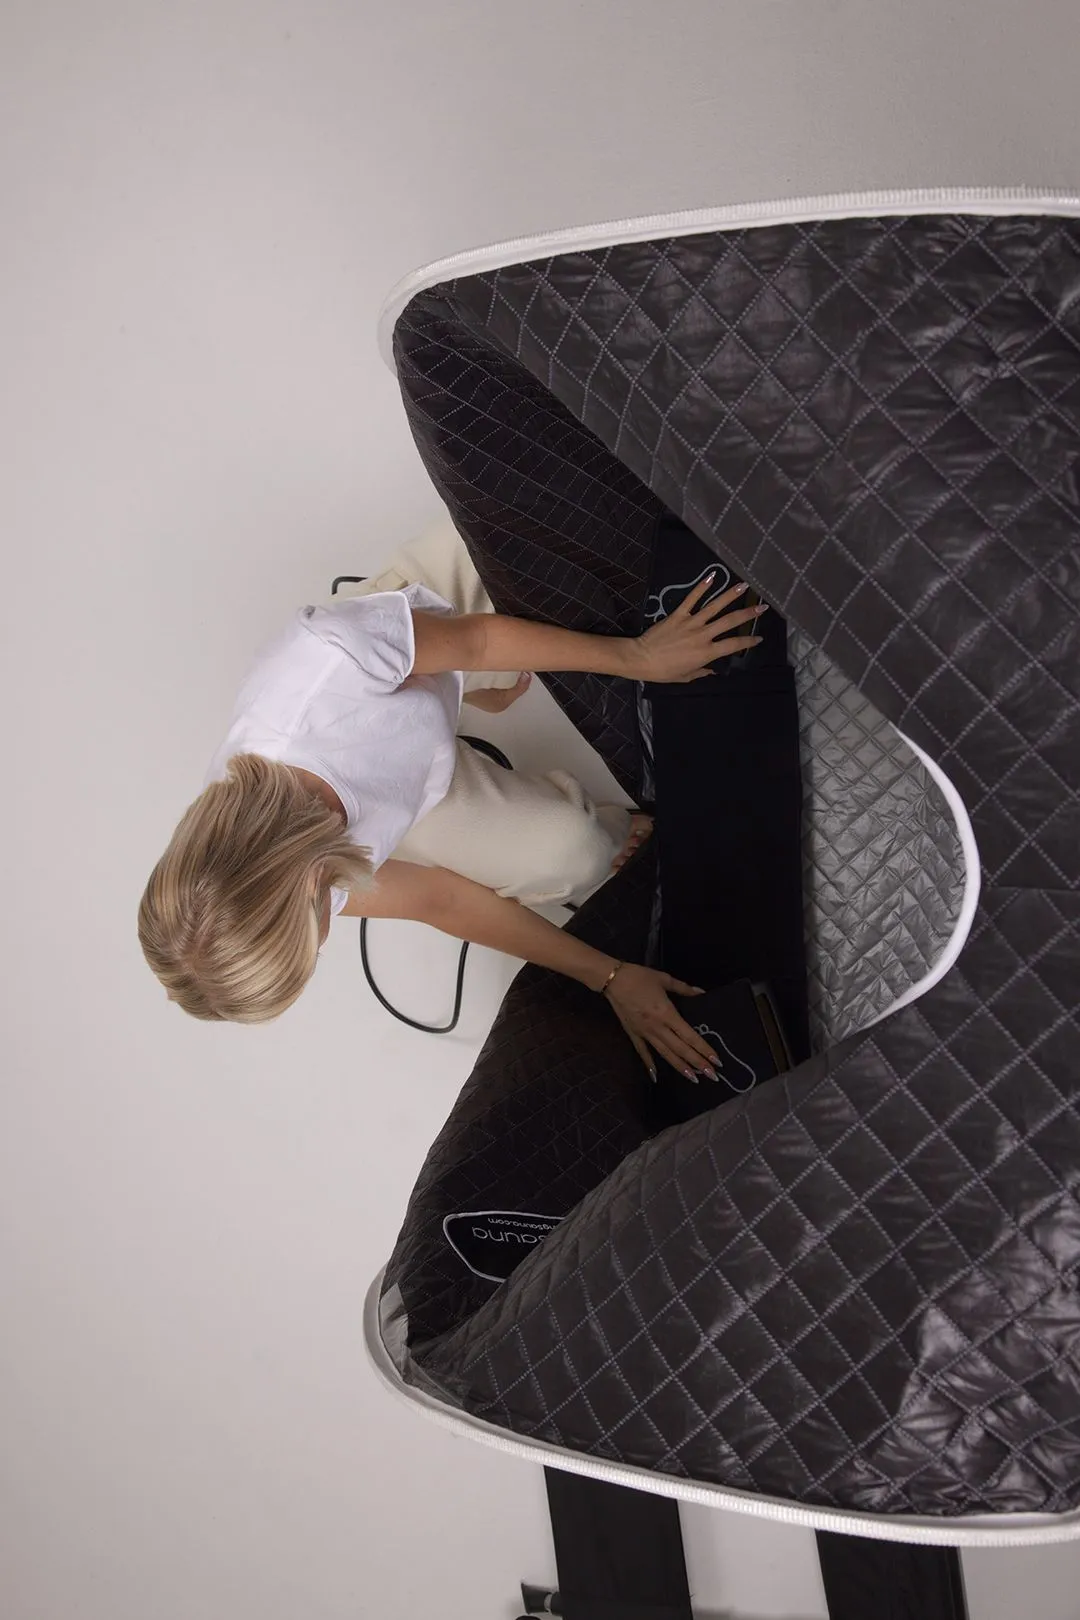
Prepare the Poles: Connect the poles, ensuring the soft rubber ends are at the top.
Insert the Poles: Place the assembled poles into the designated slots on the far right and left sides inside the tent.
Insert the Poles: Place the assembled poles into the designated slots on the far right and left sides inside the tent.
Step 5
Positioning the Far Infrared Radiator
Place the Radiator: Insert the Far Infrared Radiator into the tent, ensuring the golden panels face inward toward where you'll be seated.
Step 6
Secure radiator with poles in tent
Once inside, rotate to horizontal position. Move to front of tent. Base will expand wide until it clicks in place. Poles will support upper tent and line up with top of tent.
Step 7
Mount your controller to your sauna
Connect to Power: Plug the sauna into a power source.
Test the Setup: Turn on the sauna to ensure everything functions correctly before your first session.
Test the Setup: Turn on the sauna to ensure everything functions correctly before your first session.

Travel with ease
Roll your tent back up to fit it in easy carry bag with your poles and heater
Mobility and portability meets wellness.